NoahFace can display a custom screen whenever a user is identified, which gives you complete flexibility in the user experience you deliver to your users. Custom screens also allow you to integrate tightly with other systems, displaying information sourced from them, and even update them. For example, you might want to support complex searching on a project database, or display detailed information about an employee's current shift.
To implement a custom screen, you simply design it using HTML, host it on your Web server, and configure NoahFace to call it.
Configure your Access Point Type to use a Screen Type of Custom, and then specify any of the following Screen Details options:
For example, you might specify the following Screen Details options:
url=https://acme.com/noahface/myscreen.html, cache=always
NoahFace passes data to your Web page via a custom JSON object called NoahFace. This object contains the following elements:
You can access these elements from Javascript using standard dot notation (eg: NoahFace.firstname) as needed.
NoahFace can also pass data to your Web page via query parameters. This is useful if you want to perform integration at the server rather than in the client. To enable server-side data access, specify the query=true configuration option in your access point type.
Note that if you implement server-side data access, your custom screen will not be able to be used offline, so it is important you have an extremely reliable network connection.
Your custom screen can call back to NoahFace to perform the following functions:
To make a call back to NoahFace, simply post a message to the NoahFace interface, passing it a JSON object containing the appropriate action element. For example:
window.webkit.messageHandlers.NoahFace.postMessage({"action":"success"});
Note that you would generally only call back to NoahFace if you are using mode=manual, because in the default mode=auto, events are automatically logged.
To force your HTML content to have a vertical height larger than the displayed viewport (and thus force vertical scrolling), you can set the height of your HTML body relative to the viewport. For example, to set the height to be twice the height of the viewport, you could specify in your CSS:
body {height:200vh;}
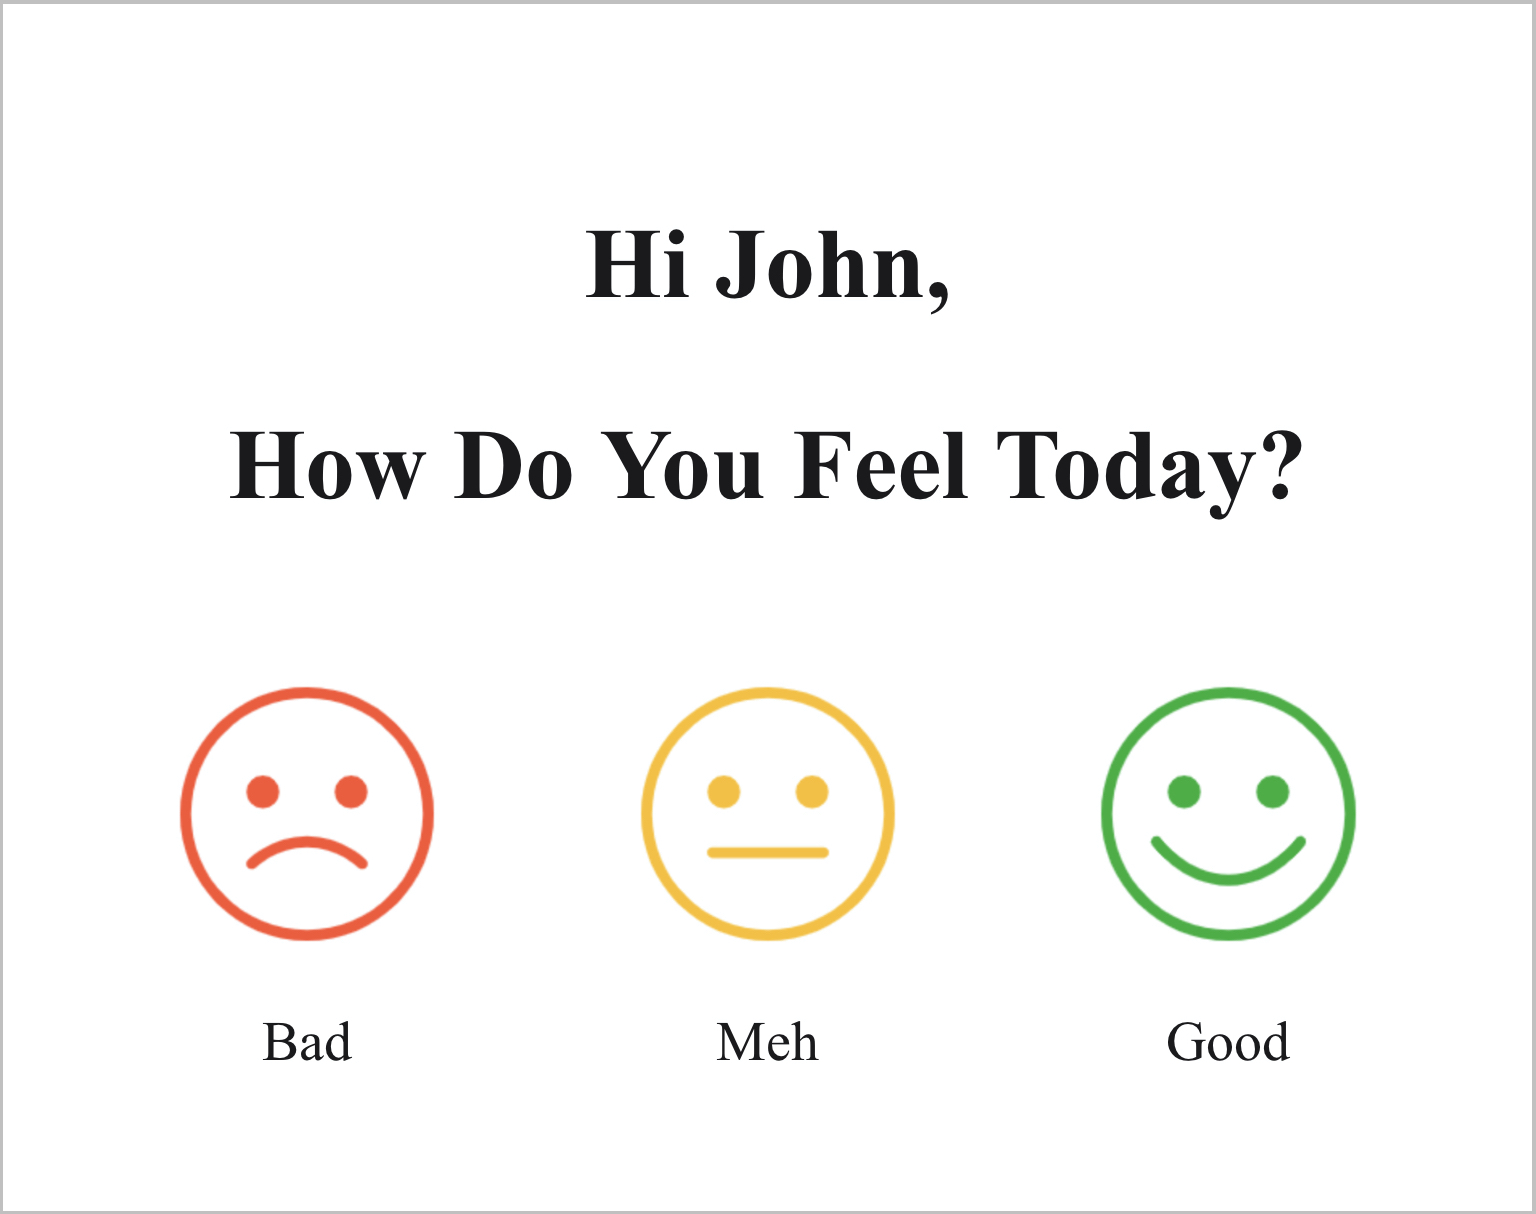
The following HTML illustrates how to access data from NoahFace as well as how to call back to NoahFace to log events:
<!DOCTYPE >
<HTML>
<HEAD>
<STYLE>
body {margin: auto; width: 90%; text-align: center;}
img {display: block; margin-left: auto; margin-right: auto; width: 60%;}
h1 {color:#1b1919; font-size:50px; padding-top:10%;}
h2 {color:#1b1919;font-size:50px; padding-bottom:5%;}
p {color:#1b1919; font-size:28px;}
.column {float: left; width: 33.33%; margin: auto;}
</STYLE>
<SCRIPT>
function log(mood) {
if (window.webkit && window.webkit.messageHandlers && window.webkit.messageHandlers.NoahFace) {
window.webkit.messageHandlers.NoahFace.postMessage({"action":"logevent", "type":"present", "details":mood});
window.webkit.messageHandlers.NoahFace.postMessage({"action":"success"});
}
}
function prepare() {
document.getElementById("greeting").innerHTML = "Hi " + NoahFace.firstname + ",";
}
window.onload = prepare;
</SCRIPT>
</HEAD>
<BODY>
<H1 id=greeting class=title></H1>
<H2 class=title>How Do You Feel Today?</H2>
<DIV class="row">
<DIV class="column">
<IMG src=https://cdn.prod.website-files.com/5a7d17188f34de0001ef34a0/6120287ad948ede0b4484273_Bad.png onclick="log('Bad')"><P>Bad</P></DIV>
<DIV class="column">
<IMG src=https://cdn.prod.website-files.com/5a7d17188f34de0001ef34a0/6120287ae809149f1b0f5368_Meh.png onclick="log('Meh')"><P>Meh</P>
</DIV>
<DIV class="column">
<IMG src=https://cdn.prod.website-files.com/5a7d17188f34de0001ef34a0/6120287a8276a4f0a35f6d5c_Good.png onclick="log('Good')"><P>Good</P>
</DIV>
</DIV>
</BODY>
</HTML>
This will result in the following screen being displayed, and when a user presses one of the icons, an event will be logged to NoahFace recording the corresponding mood:
